Saturday, November 14, 2015

How do I?

How do I start a blog post after this long silence?

It's been long since the last post. I wouldn't apologize about it, because this is a tiny space that is existing solely for my silly sewing and it would sound even sillier if I apologize about my lack of exhibitionism as if I have to have it all the time. Too much self-importance is prowling around the world, so you really don't need mine in addition to that, I guess...

Basically I haven't sewn much these days. Instead, I've been either busy or tired with all things that happened to our little family and to myself for the last several months. In short, we decided that I could lessen my scientific work drastically to the level of almost zero, that we could move in some other cozier house in the same area, and that the daughter could stay with us again and go to College from home. It took some time but we managed to make all things happen nicely and now everything around us seems better and settled. Now, all of us are happier than ever. That said, I have to confess that I unnecessarily made the fuss even bigger during the transitional period, by getting sick or injured from time to time. I courageously joined in this year's Pattern Review Sewing Bee contest this fall and it helped me a lot (to have a thermal runaway in my brain) too. Well, life is so eventful.

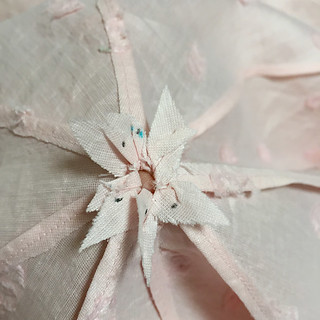
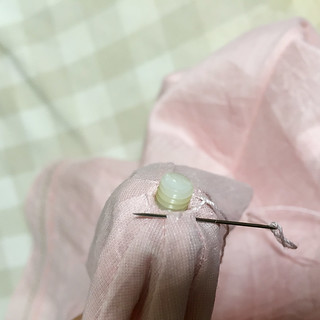
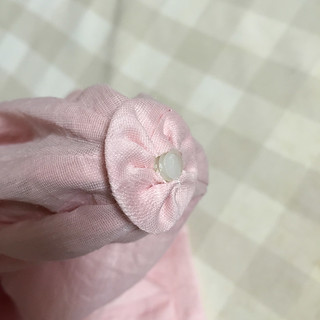
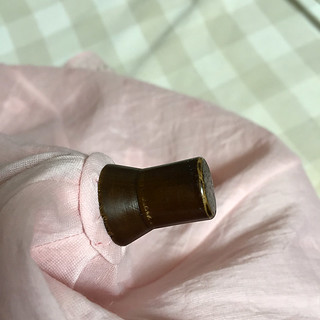
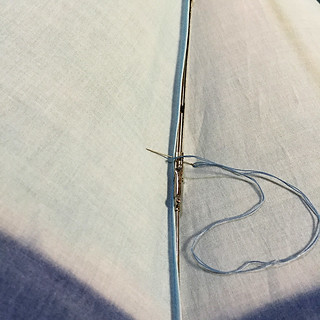
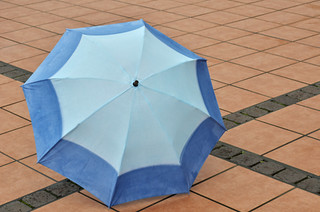
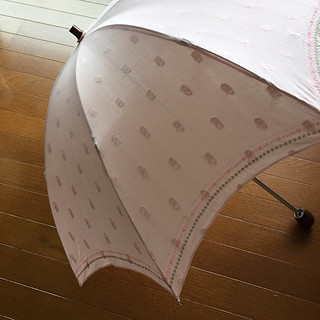
In fewer words, this post is a report of the projects which I sewed for the sewing bee contest.

As for the contest result, I luckily got through to the final round, which was the 4th round of the entire contest. That means, I made four sets of garments/outfits with certain themes given by the contest committee for each round. I tried my best, but I think the daughter should be acknowledged as a great help to my success in the contest. She helped me a lot about the lovely photographs very much :)

If you are interested in detail of the projects, please visit my reviews in PR site from the links.


Sewing Bee Round 1 - Fitted Blouse:  Review

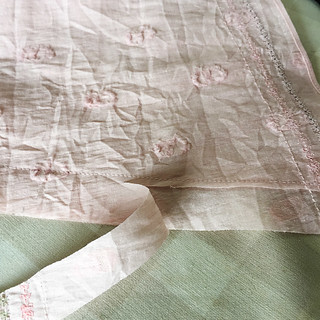
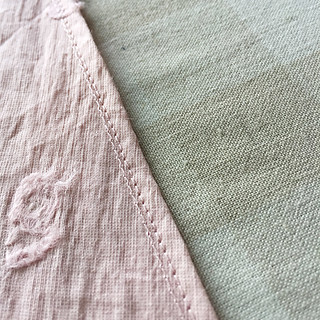
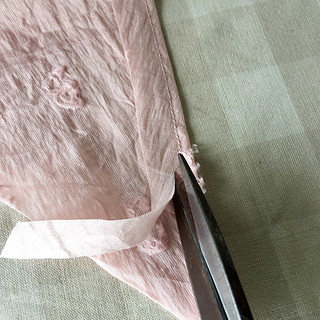
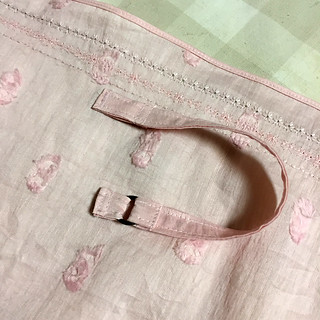
Sewing Bee Round 2 - Make the Fabric Your Own: Review

Sewing Bee Round 3 - Lined Jacket: Review

Sewing Bee Round 3 - Design and Sew an Olympics Outfit: Review


Lastly, I put a picture of my room below. This is the current status of my new sewing space. It is a very small corner of a room, and I started liking it very much. By the way, I knitted the pink hat on the dress form yesterday. I have just started expanding my creativity at my new space, so I will see what kind of sewing happens here in the very near future.


I hope you are having a great time, I will try to have a good one too!


Keep you safe and warm. Love each other.

Love and hugs
yoshimi

Saturday, August 15, 2015

wide pants, culotte pants, gaucho pants, or whatever how you call them,

I made them in lace fabric.


I got this lace on my holiday in Kochi, in June. I bought three or three and half meters of it at my favorite store, along with some pieces of other fabric. I almost sewed all of them already, but it's not today's story :)

In this lace, I made a simple sack dress for me and then made a pair of these wide and skirt-like pants. The latter turned out very pretty pants for my daughter who looks lovely in romantically chic(if you can imagine that) outfit.


The pattern I used is a japanese pattern which is called "simple wide pants with an elastic waist band that are easy to make" from Polkadrops. The name says it all!

I lined them with a light cotton lawn and made the elastic band casting with a heavy silk shantung. I'm pretty happy with the result, so is the daughter. She was kind enough to volunteer to pose in the blog photos again. Thank you, my girl.


Now I think I finished my high summer sewing with these.
How's your sewing going?

Talk to you soon!

Love,
yoshimi


=====
pattern: "simple wide pants with an elastic waist band that are easy to make" from Polkadrops
Free size (however, the size was much adjusted for the wearer when printing out in this case), lengthened, lined.
fabric: lace fabric, mysterious composition
=====

Saturday, August 1, 2015

Vogue 2900, version 2015.

Hello!


I made another vogue 2900 in a beautiful wax printed cotton. I really love this pattern, and I can't stop making one in every summer. As all parts of this dress are cut in bias grain (style B), it fits great around the waist without clinging to the body too much when it is sewn in dry and stiff fabric like this wax printed cotton.

As for sewing, I don't have many things to tell about this dress, as I made it with same alterations as former V2900s. I've made two V2900s in similar fabrics before this dress, and here are the links to the posts (1) (2) if you would like to read about them. This time, I lengthened the skirt by 5cm(2") to add some fullness in the skirt, but there is nothing more.


Hope you are having a good time!

Love,
yoshimi


=====
pattern: V2900, style B from Vogue Patterns
fabric: Wax printed cotton from Vlisco, stiff. dry.
=====

Monday, July 27, 2015

summer navy


Here are some pics of the navy shrug that I made last Friday. It was made for me in the first place, but it became my daughter's in the exact moment that I asked her if she liked it. It's Okay and I'm happy with it, well, it looks better on her anyway.


This is my second 'SAKI's Shrug' and I made it without any special pattern. I cut the fabric for getting some certain sizes of rectangles, and jointed them to make a simple shrug. Please have a look at my fist version in this old blog post if you're interested in making your own version. There are some pictures that might be useful in the post. Saki gave me the dimensions of rectangles and I found them perfect, so I can recommend them to anyone who would like to try it. Regarding the fabrics to use, I can tell you that softer knit fabrics tend to give better results.


Talk to you soon!

Love,
yoshimi


=====
Navy Linen Shrug
pattern: SAKI's shrug, sewn with overlocker, see dimensions in this blog post and in the old blog post.
fabric: Linen knit, soft, loose, very stretchy, little recovery, navy blue, a bit shiny.
=====


Wednesday, July 22, 2015

Simple


I sewed another shirt using Alder shirt dress pattern from Grainline Studio. This time it was made as a simple sleeveless shirt. I chopped off the lower half of the pattern and used the rest of it practically without modification. If I say something special about it, it would be that it is missing one of the pockets and the collar due to the fabric shortage but it has got a small embroidery in the chest as if it is compensating the missing parts.


Ah, you have to be informed that I was a teen when I embroidered the last time. I find that all my humble skill in embroidery has been lost by now. Now I can do it only humorously.


The shirt is pretty, and comfortable in the hot weather too.


*
This year in Japan, the rainy season was suddenly taken over by hot days and the summer started without delay. At this moment I'm struggling with this hotness more than usual (I'm a snowman, in case you don't know me), as we didn't have enough time for adapting to the heat.


**
By the way, on this coming weekend, I will attend a casual one-hour workshop for tie dying dyeing. I'm going to attend it with one of my sewing good friends and we will learn how to tie and dye, as beginners. I'm so excited! Hopefully I will come home with something good enough to show you in the blog post. Wish me luck, please :)

Hope you're having a beautiful day!


Love,
yoshimi


=====
Simple sleeveless shirt
pattern: Alder from Grainline Studio, with size adjustments (raised armhole base and shortened shoulder width).
fabric: Lightweight linen woven fabric, pale pink brown, with off white pinstripes. Slightly sheer but can be worn as a single layer. Crisp and casual. Not too coarse. Typical linen plain woven. Same fabric was used in this shirt.
=====

Tuesday, July 14, 2015

two small things

Hello!


I sewed two easy garments for hot weather over this weekend. I used two pieces of my recent holiday fabric consequence already! They're both very simple but they are one and only kind of things that were made especially for me. Can I still count it as luxury? :)


1. Batwing top
I love batwing tops but it is sometimes annoying that their hems are creeping up above the waist when I raise my arm(s) up. For this top, I lengthened the side seam by slash-open method, by 3cm, to give it a little extra margin to accommodate my action.

It's a small addition to the pattern and I think more logical fitting alterations will be needed if the side seam is lengthened heavily. I mean, I avoided it and took an easy way.

The shoulder lines in the garment sit OK after modification. I got more range of motion for reaching to high shelves too. This simple batwing tee pattern is my old and trusty pattern (no longer available) from the blog "Love Sewing!".

This is my favorite necklace. Summer tops need to go well with it.


2. Cache-cœur sleeveless shirt
Using Alder pattern from Grainline Studio, I sewed a crossover shirt in a light brown/pink linen fabric. I put some extra width to it at the hem, so that the both ends of plackets can be buttoned on at sides to make a crossover.


ah, yes, too much smiling

I am not sure whether I was successful about my version of this crossover, however, I am very much likely to wear it often because I love this linen on my complexion. I'm trying to think that this shirt has an unusual shape from the beginning and no one would notice anything extra strange.

... Maybe I should have tried one Alder without modification first in this fabric (it is really likely so as it seems a very good pattern), or maybe I should have bought one of those commercial crossover shirt patterns. Said that, I think I'd try Alder without weird modifications before long and everything will be under control, hehehe.


Did you sew something over the weekend? Just checking! (^_^)


Love,
yoshimi


=====
Batwing top
pattern: Batwing tunic PDF download (no longer available) from Love Sewing!
fabric: Lightweight cotton jersey, probably polyester blend. Stretches mildly. Slightly stiff and springy. Smooth. Not sheer.

Cache-cœur sleeveless shirt
pattern: Alder from Grainline Studio, heavily modified. Size and shape adjusted for my body type too (raised armhole base, shortened shoulder width and some minor adjustments) .
fabric: Lightweight linen woven fabric, pale pink brown, with off white pinstripes. Slightly sheer but can be worn as a single layer. Crisp and casual. Not too coarse. Typical linen plain woven.


White baggy pants
pattern: Joker from Tamanegi-kobo. The pattern is one of my best favorites of all sewing patterns. I chose one larger size than usual to get loose fitting.
fabric: Cotton linen white stretch, bottom weight. Casual.
=====


additional pic (2015/July/16)

Tuesday, July 7, 2015

Sheer Libby Skirt


Hello!

I really like Libby A-line skirt pattern from Tessuti, especially the long version. In April, I made this Libby and since then it has become one of my staples. It is easy to wear and something pretty. As the fabric was sheer light polyester, I lined it with an anti-transparency cupro but made the lining much shorter than usual to give some fun effect.


There is not much to tell about this skirt because it hasn't got many alterations. That is fine by me, because I don't require complications when they are already alright.


***
By the way, I had a short trip to Shikoku with my sewing girlfriends a week ago. Shikoku is the smallest island of the four main islands of Japan and is located in southern part of our country. The weather was spotlessly fine while we were there, and we had the most happy and fun short holiday by the Pacific Ocean.

There we stopped by (I'm writing as if it wasn't the main subject of this holiday, but it was of course) a fabric store at which we normally purchase fabrics on line. The owner lady of the shop is one of my favorite people in the world and I was really happy to see her again after the last couple of years.

I think there is no need to explain to you that I bought quite a few pieces of fabrics... I'm so looking forward to sewing with them before long.


Friends were having fun with a photo session on the beach.

From behind someone photographed me who was photographing those who were having a photo session on the foreshore. Very 21st century.

We visited many sightseeing places.

Udon noodles :)

lot of Ice creams
(actually this one was Chigu's, not mine)

And a mountain of my fabric, yeah


==========
Pattern: Libby A-line skirt (PDF free download) from Tessuti fabrics. Lined.
Fabrics
Shell: polyester light fabric, sheer, colorful.
Lining: Cupro, light gray, anti-transparency.
==========


I wish you're having a very lovely week, I squeak :)


XOXO
yoshimi

Monday, June 22, 2015

DIY parasols (2)

(edited on 2015/July/23)

Hello!

As I mentioned in the last post, here I'm going to share the pics that I took while I made two parasols. If technically said, I just reinstalled the canopies twice, though, I hope they will help you a bit when you wish to get yourself new parasols.


*As I made a pink version first and decided that I didn't like it, I made another in other fabric that I dyed in two shades of blue. I'm sorry for having too many pictures here, and also for the mixed version of pictures in order to complement my bad explanations. I believe having many pictures is better than relying on imagination, however.

150621 parasol canopy reinstallation 
(1)

I took the canopy off my old parasol and installed new ones (plural, as I did it twice).

What is most important is that taking notes along with pictures during disassembling to get the idea of the construction order. Constructing a new one is achieved by assembling it in the counter order to disassembling, basically.


Before dismounting the old canopy
_Take notes about where and how exactly the canopy is sewn on the frame.
_Check the parasol top whether it is tightened by screw or it is bonded by glue. If it is bonded by glue or if it cannot be disassembled easily, the frame is technically not suitable for refurbishing.
_Disassemble all accessories neatly and keep them for future use, or as a template of new canopy etc.

150621 parasol canopy reinstallation (2)

150621 parasol canopy reinstallation (3)

150621 parasol canopy reinstallation (5)

150621 parasol canopy reinstallation (7)


After dismounting the canopy
_Cut out one triangle from old canopy and use it as a pattern after making it flat. Check if the length of side seam of your pattern is shorter but nearly same as the length of the rib. They shouldn't be too different from each other. Said that, it's all dependent on the fabric. Some loosely woven fabrics or others with stretchy fibers may require to be cut much smaller.
_Don't forget adding seam allowances when cutting. I find ~2cm(4/5inch) for side seam allowance is easy to handle in the later steps.
_Other fabric parts have to be examined and recreated if necessary.

150621 parasol canopy reinstallation (8)

150621 parasol canopy reinstallation (9)


Sewing canopy


(additional note)
_I cut my canopy pieces in cross grain with the purpose for avoiding the whole canopy stretched out horizontally.

 _My canopy pieces were cut with 2cm(4/5inch) seam allowance on all side seams. Hem allowance is up to the fabric. My one for pink version was 1cm.
_Hem has to be done before jointing the canopy pieces.
_Firstly make 4 pairs of pieces and sew them as follows.
_Sew one of side seams with right sides facing, starting outer end(=edge) and ending inner end, stopping 0.1cm(>1/10inch) before the top of the triangle with secure back stitching.

150621 parasol canopy reinstallation (10)

_Trim one of seam allowances leaving 0.4-0.5cm(1/6~1/5inch) to the seam.

150621 parasol canopy reinstallation (11)

_Enwrap the trimmed seam allowance with the untrimmed one, like making a hong kong finish, and sew at a tiny bit outer side of the first stitch to close the trimmed seam allowance.
_Trim the wrapping seam allowance leaving 0.2-0.3cm(1/10inch) on the canopy.

150621 parasol canopy reinstallation (12)

150621 parasol canopy reinstallation (13)

_Sew 2 pairs of jointed pieces likewise, and repeat until all canopy parts are jointed.
_Sew the closure ribbon on the canopy, probably you would like to do it exactly as the old one was attached.

150621 parasol canopy reinstallation (17)

 _Turn the flopping top seam allowances inside and press them neatly.

150621 parasol canopy reinstallation (16)

_Place the inner round fabric part on top of the frame.
_Place the canopy on the frame on top of the inner round part, secure it by threading some rounds by hand stitching
_Put the top round fabric part,  and put the screw top on top of the parasol.

150621 parasol canopy reinstallation

150621 parasol canopy reinstallation

150621 parasol canopy reinstallation (20)

150621 parasol canopy reinstallation (21)


_Attach the canopy to the frame by sewing at all points where the old canopy was attached in the old parasol. Usually it is easier when tips were done first, and then to the ribs.

150621 parasol canopy reinstallation (31)

150621-DSC_7805
The colors totally howl "Handmade" and I am kinda proud of it.

I think experiences tell you everything when thinking of making parasol. After trying one, you will know how easy it is. You will be getting the tricks and tips only after trying some of them by yourself, too. I hope you know what I mean. Good luck!

*Here is a link to the album that contains these pics and also some other ones to complete a set of this topic for those who would like to see them all.


Love,
yoshimi

150621 parasol canopy reinstallation (23)
I think this canopy was too tight.